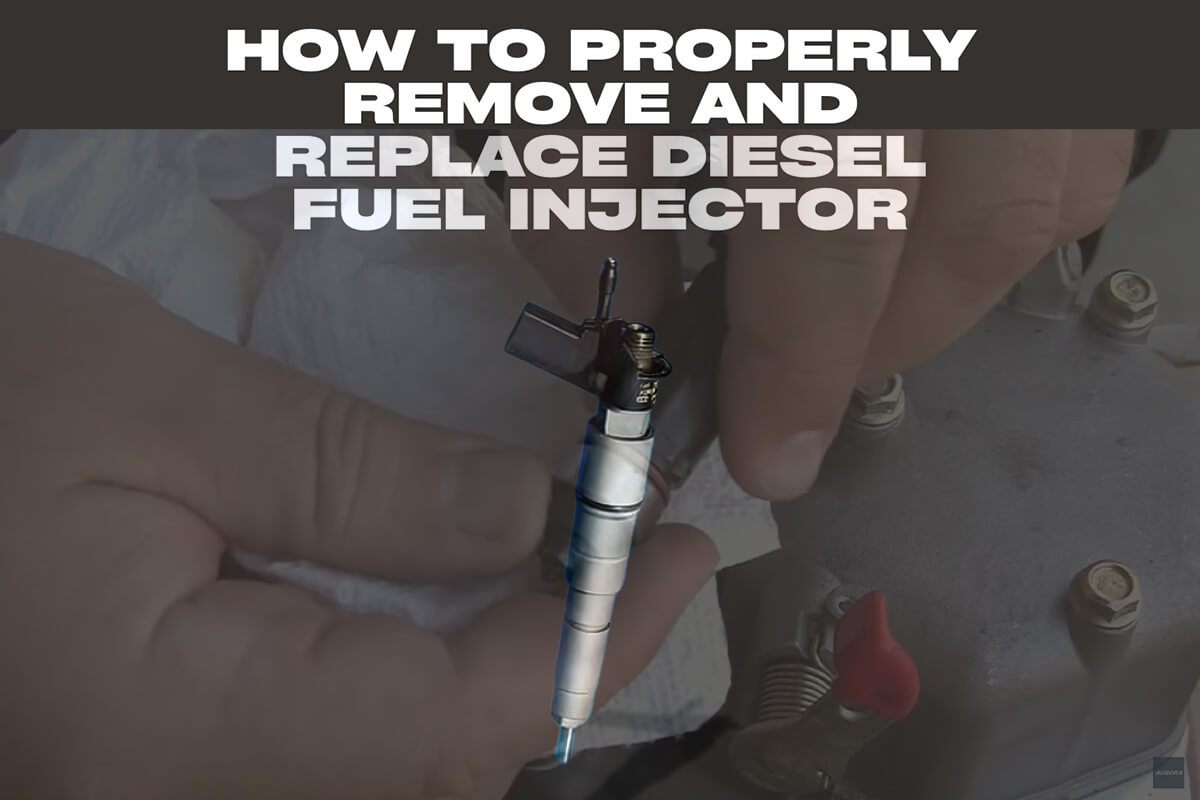
How to properly remove and replace diesel fuel injector
- BY BISON
Table of Contents
A diesel fuel injector is essential for engine performance, delivering the right amount of fuel into the combustion chamber at the correct pressure and timing. Proper injector operation ensures smooth engine performance, good fuel efficiency, and reduced emissions.
Improper adjustment or long-term neglect of diesel fuel injectors can lead to wear, fatigue, poor atomization, insufficient combustion, dripping, and black smoke. Signs of injector problems include rough idling, decreased fuel efficiency, hard starting, and excessive exhaust smoke. Failing to address these issues can result in severe engine damage.
And, it’s crucial to follow the correct procedures when removing and replacing diesel fuel injectors – incorrect procedures can cause serious engine damage. So, in this guide, BISON outlines the key operations for safely removing and replacing diesel fuel injectors.

Preparing for diesel fuel injector removal
Safety preparation
Always wear protective gloves and safety glasses, as diesel fuel and small metal fragments can cause injury. Ensure the engine is completely cool to avoid burns and make components easier to handle.
Prepare your workspace by keeping it clean, well-lit, and free of clutter. Position the generator on level ground and engage the parking brake if available. Always have the service manual on hand, as it provides exact steps, torque settings, and specifications to prevent costly mistakes.
Tools and materials needed
Common hand tools include wrenches, sockets, ratchets, and screwdrivers for removing fasteners and engine covers. Specialized tools, such as an injector puller and torque wrench, are needed for safely removing injectors and ensuring proper reinstallation.
Keep cleaning supplies ready, such as brushes, rags, and solvent, to remove dirt, carbon buildup, and fuel residue from injector ports and surrounding areas. For replacement, new diesel fuel injectors are required along with new copper washers and O-rings.
Step-by-step guide to removing diesel fuel injectors
Step 1. Access the diesel fuel injectors
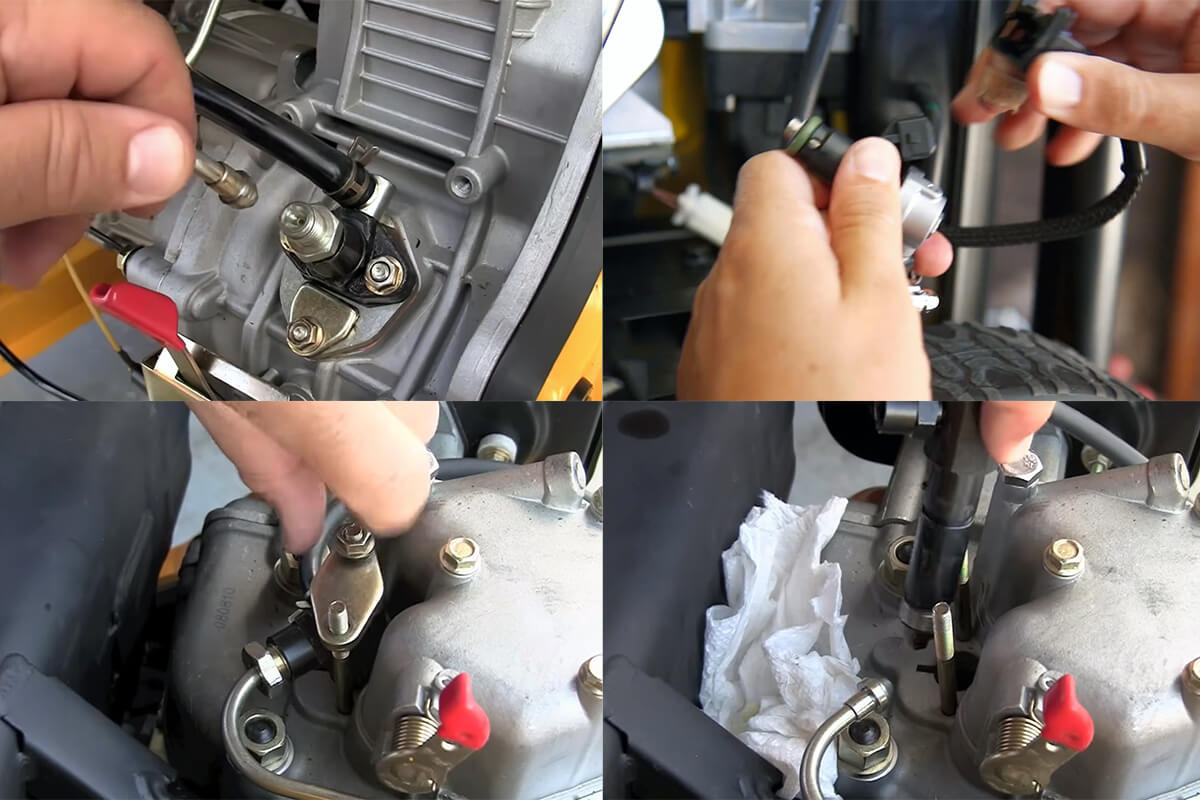
Remove any engine covers, intake components, or protective shields blocking access to the fuel injectors. Remove and record the locations of bolts and parts for easy reassembly. Taking photos or labeling hoses, wires, and brackets can make reinstallation much easier.
Step 2. Relieve fuel system pressure
Locate the fuel system pressure relief valve or disconnect the fuel pump fuse. If safe, run the engine briefly until it stalls, or manually relieve the pressure. Always disconnect the negative battery cable before proceeding.
Step 3. Remove fuel lines
Clean around fuel line connections with compressed air. Place a rag under the connection to catch any remaining fuel and, using a suitable fuel line disconnect tool, remove the high-pressure fuel line from each injector, working slowly to avoid bending or damaging the line. Cap or plug lines immediately to prevent contamination. If equipped, remove the fuel return line as well.
Step 4. Disconnect electrical connections
Carefully unplug the electrical connectors from each diesel fuel injector, taking care not to damage clips or wiring. Label connections if replacing multiple injectors and inspect for corrosion or damage.
Step 5. Remove diesel fuel injector hold-down hardware
Unscrew the hold-down bolts or clamps securing the diesel fuel injectors to the cylinder head. Keep the hardware organized and inspect for wear. Some generators may use a bracket system to hold multiple injectors in place.
Step 6. Extract the diesel fuel injectors
Gently wiggle the diesel fuel injector to break it free. If it is stuck, use a specialized injector puller to avoid damaging the diesel fuel injector or cylinder head. Never use excessive force or pry with inappropriate tools. If necessary, apply penetrating oil and wait 15-20 minutes before gently shaking the diesel fuel injector to remove it completely and inspect the cylinder bore.

Steps after removing a diesel fuel injector
Step 1. Clean the injector bores and seats
Use a lint-free cloth and a suitable cleaner to remove dirt, fuel residue, and carbon deposits from the injector bores and seats. This ensures the injectors seal properly, preventing leaks and maintaining engine performance.
Step 2. Inspect the injector bores
Examine the injector bores and seats for cracks, excessive wear, or carbon deposits. Any damage can affect fuel spray patterns or cause compression leaks, leading to rough running or reduced efficiency.
Step 3. Examine the removed injectors
Inspect each diesel fuel injector for damage such as cracks, worn tips, or clogged nozzles. Diesel fuel injectors showing heavy wear or irreparable damage should be replaced. If they appear in good condition, they may be tested and reused according to manufacturer guidelines.
Step 4. Inspect and replace seals, o-rings, and washers
Small components like seals, o-rings, and copper washers are critical for proper sealing. Always replace them if they show wear, flattening, or fuel leakage. Reusing worn parts can cause leaks and future performance issues.
Step-by-step guide to installing new diesel fuel injectors
Step 1. Prepare the diesel fuel injector
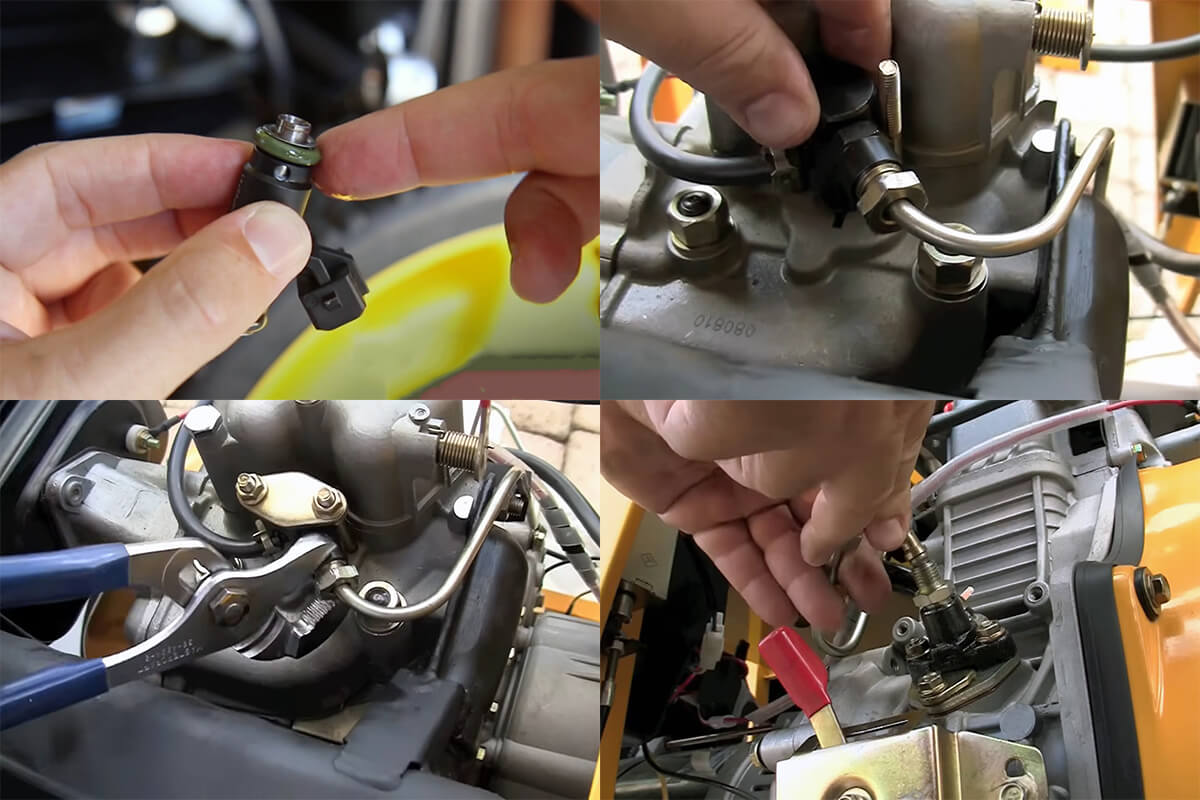
Before installation, apply a thin layer of clean diesel fuel or manufacturer-recommended lubricant to the diesel fuel injector’s o-rings to prevent damage and ensure a proper seal. Install new copper washers or seals and verify that the part numbers match the specifications.
Step 2. Insert the diesel fuel injector
Carefully slide the diesel fuel injector straight into the bore by hand, ensuring the o-rings are not damaged and the diesel fuel injector is fully seated. Avoid cross-threading or forcing the injector into place.
Step 3. Secure the diesel fuel injector
Reinstall the hold-down clips, bolts, or clamps that secure the diesel fuel injector. Tighten to the manufacturer’s recommended torque (typically 25–35 ft-lbs). Avoid over-tightening, which can cause damage, and under-tightening, which may result in leaks.
Step 4. Reconnect fuel lines
Reattach the fuel lines, ensuring proper alignment and secure connections. Tighten high-pressure fuel line fittings to the recommended torque (typically 15–25 ft-lbs) to prevent leaks.
Step 5. Reconnect electrical connections
Carefully reconnect the electrical connector to each diesel fuel injector, ensuring each clip is securely locked in place. Use the proper torque (typically 15-25 foot-pounds).

Reconnecting and testing the system after installing new diesel injectors
Before starting the engine, bleed the fuel system to remove any trapped air. This prevents hard starting, misfires, and uneven diesel fuel injector performance.
When ready, turn the ignition to the “on” position to allow the fuel pump to pressurize the system, then start the engine. Listen for unusual noises and watch for smoke. Inspect all injector and fuel line connections for leaks—look for fuel drips, wet spots, or odors.
Finally, confirm the engine runs smoothly with no rough idling, smoke, or warning lights. If any issues occur, shut down the engine immediately, recheck all connections, or consult a professional for assistance.
Summary
Properly functioning diesel fuel injectors are vital for maintaining your engine’s performance, fuel efficiency, and emission control. When injectors deliver fuel precisely and at the right time, they ensure smooth operation and prolong engine life. Always consult your generator’s service manual for exact procedures and specifications before performing any injector maintenance or replacement.
For reliable, high-quality diesel fuel injectors, choose BISON—engineered for consistent performance, durability, and long service life. BISON injectors undergo rigorous testing to meet or exceed OEM specifications, providing your customers with dependable performance.
As a supplier of generator accessories and generators with many years of manufacturing and exporting experience, BISON provides access to our extensive catalog of generators and spare parts, along with professional service to streamline your purchasing process. Contact Contact BISON today and confidently import reliable diesel fuel injectors from China.
FAQs
What destroys diesel injectors?
- Impurities, solid particles, and water in diesel fuel can damage the injector surfaces through erosion and corrosion.
- Prolonged exposure to contaminated fuel can cause deposits to build up inside the injector, resulting in sluggish needle movement and possible partial or complete failure of the injector needle assembly.
- Paraffin crystallization in poor-quality fuel may block the injection system, leading to injector failure.
Can faulty injectors damage the engine?
Although the risk of severe engine damage is relatively low, it is not impossible. Replacing damaged injectors promptly improves fuel economy, restores engine power, and helps prevent further complications.
contact us
related product categories
Get in touch to speak with our experts!


